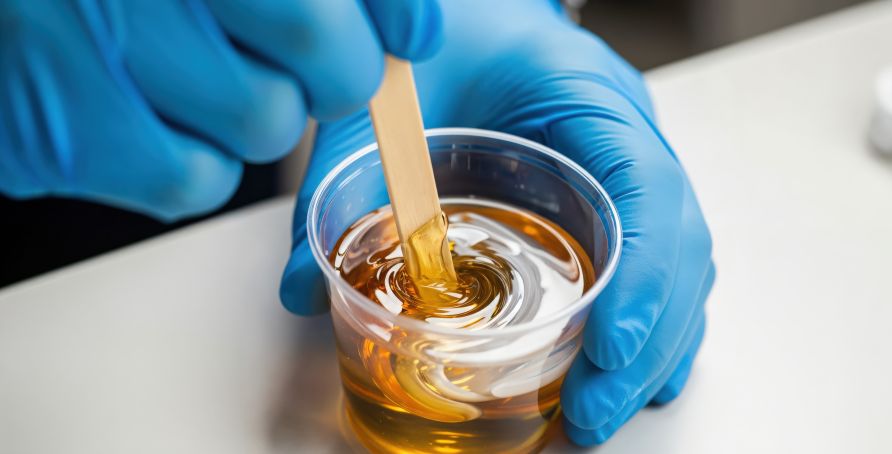


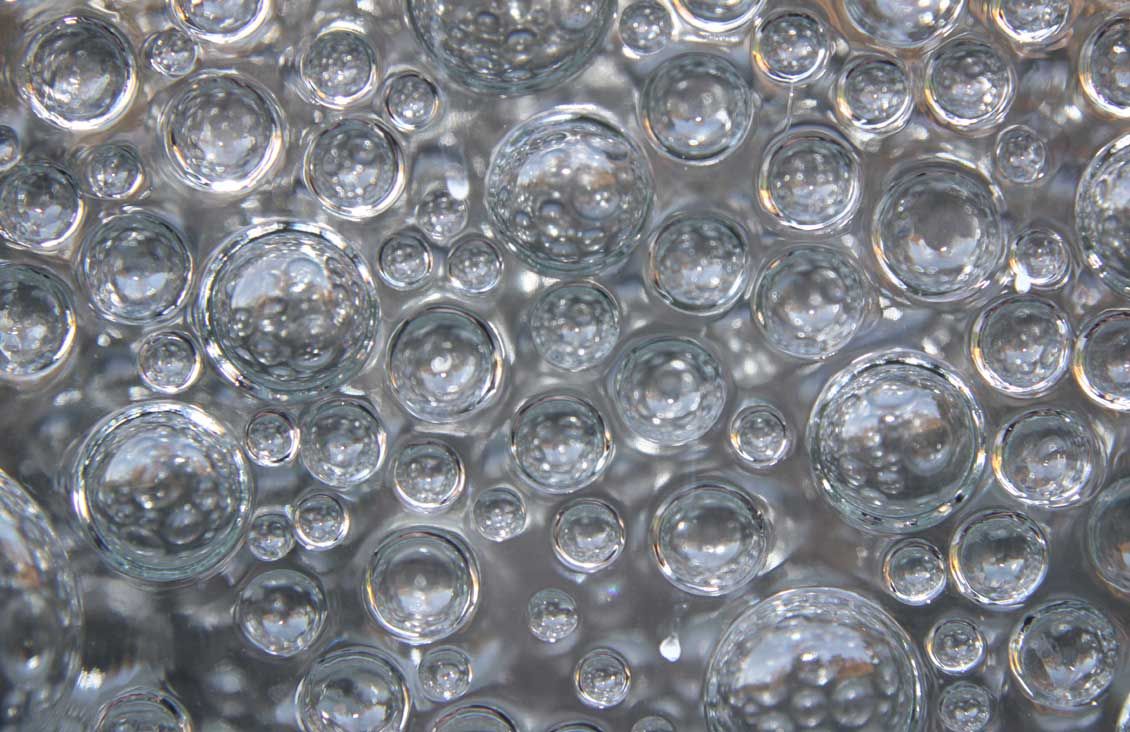
When working with epoxy adhesives, air entrapment is almost inevitable—no matter the viscosity or formulation. These tiny bubbles can compromise electrical, thermal, and optical performance by interrupting a continuous bond. The good news? With the right techniques, you can remove or greatly reduce entrapped air, ensuring your adhesive performs at its peak.
At Epoxy Technology, we’ve identified three reliable ways to eliminate bubbles from epoxy: Vacuum Degassing, Centrifuging, and Heat Treatment.
Why Bubble Removal Matters
Whether you’re using pre-mixed and frozen syringes for precision application or hand-mixing components in an open container, a small amount of air can find its way into your epoxy. Left untreated, these bubbles can create weak points in the bond and impact long-term performance. By properly removing air, you help ensure strong, continuous, and reliable adhesion.
Method 1: Vacuum Degassing
Vacuum degassing physically removes air from the epoxy by creating a low-pressure environment that allows trapped air to escape.
Key tips:
- Use a container at least five times larger than the epoxy volume to accommodate the “rise” during degassing.
- Employ a pump capable of pulling at least 29 inches of Hg quickly.
- Avoid prolonged vacuum times or excessive vacuum, which can cause a “rolling boil” and introduce new bubbles.
- Vibration can help encourage bubbles to escape.
Best for: Open-container epoxy applications.
Method 2: Centrifuging
Centrifuging is the most common method for syringe-packaged epoxies. This process forces bubbles to migrate toward the tip, where they can be removed before application.
For unfilled epoxies:
- Spin at 1,000–3,000 RPM for 3 minutes to eliminate even microscopic bubbles.
For filled epoxies:
- Limit speed to 1,000 RPM to prevent filler separation while still removing trapped air.
Pro tip: Always store syringes tip-down to keep any residual bubbles away from the adhesive.
Method 3: Heat Treatment
Heat offers a simple and effective way to release bubbles in open-container epoxies. The trick is maximizing surface area so bubbles can escape easily.
How to do it:
- Spread epoxy in a wide, shallow container.
- Place in a preheated oven at 35–40°C for about 10 minutes.
- Extend time slightly if bubbles persist, but monitor pot life—heat accelerates curing.
- For stubborn surface bubbles, lightly brush the epoxy with a spatula to break surface tension.
Final thoughts
Each method—vacuum degassing, centrifuging, and heat treatment—offers a reliable way to enhance epoxy performance by eliminating bubbles. Selecting the right technique depends on your epoxy format, application type, and performance needs.
Get in touch
If you have questions about which method best fits your process, our Tech Service Group is here to help:
techserv@epotek.com